How to Grow Garlic at Home (Planting, Harvesting, and Storing Garlic in Zone 5)
Garlic is one of the easiest and most rewarding crops you can grow in a kitchen garden. Plant it once in the fall, let winter do most of the work, and by midsummer you'll be harvesting bulbs with flavor that grocery store garlic simply can't match.
Here in southern Wisconsin (Zone 5), I always plant my garlic in the fall so it's ready to harvest the following July, right when tomatoes are ripening and the basil is bushy — it’s like nature is begging you to make a fresh pasta sauce. If you've never grown garlic before, don't worry. Once you understand the basics, it's one of the lowest-maintenance crops in the garden.
In this guide, I'll walk you through everything you need to know, from choosing the right variety to planting, harvesting, curing, and storing your garlic for months of homegrown flavor.
Growing Garlic at a Glance
Best planting time (Zone 5): 2–4 weeks before the ground freezes (or your coldest time of year)
Sun: Full sun
Soil: Rich, well-drained soil
Time to harvest: Approximately 8 months
Harvest: Mid-to-late July in Wisconsin (Zone 5)
Difficulty: Easy
Hardneck vs. Softneck: Which Should You Grow?
There are two types of garlic: hardneck and softneck.
Hardneck Garlic
cold-hardy, making it suitable for Wisconsin and other Northern climates
likely to be streaked with beautiful purple veining
known for bold, more intense flavors
produce tender scapes, a flower that grows out of the center of the plant and can be harvested and eaten itself in late spring
Garlic scapes are the flowering stalk that grows from the center of the plant. Once the scape makes one complete curl, remove it so the plant puts its energy into growing a larger bulb instead of producing flowers. Scapes are delicious grilled, chopped into stir-fries, blended into pesto, added to soups, or simply sautéed with butter.
Softneck Garlic
typically grown in warmer climates
braids beautifully for storage, and tends to store for about six months longer than hardneck varieties
produces the classic white bulbs you usually see in the grocery store
I’ve grown only hardneck garlic in my area of southern Wisconsin. Still, one of the beautiful things about garlic is that it is highly adaptable if you’re interested in experimenting. If you’re willing to give it a few years, a variety that typically would not grow well in your climate will eventually adapt to your weather and soil conditions.
Where to Buy Garlic for Planting
The quality of your seed garlic matters.
I recommend purchasing seed garlic from:
Local farms
Farmers markets
Reputable seed companies
Buying locally grown garlic gives you varieties that are already adapted to your climate.
Avoid planting grocery store garlic whenever possible. Much of it is imported, often from China, and many bulbs have been treated with sprout inhibitors to prevent them from growing.
High Mowing Seed usually has a great variety, but they sell out fast. Make sure you order well ahead of the season to ensure you get the types you want.
When to Plant Garlic in Wisconsin (Zone 5)
Garlic requires about eight months to grow from planting to harvest; however, it is a unique vegetable crop in that much of the growing time takes place in the winter months, with no active work required from you. Garlic is one of the earliest plants to appear in the spring, which is always an exciting moment.
Plant garlic 2-4 weeks before the ground freezes solid. Keep in mind I said before the ground freezes, not before your first frost. This will give the cloves enough time to establish some roots without producing excessive top growth before winter. If your ground does not freeze solid, plant 2-4 weeks before the coldest time of year.
How to Plant Garlic
When your garlic arrives:
Open the package immediately.
Store it in a cool, dark, dry place.
Leave it in a breathable container until planting day.
Never refrigerate or store it in plastic.
When you're ready to plant:
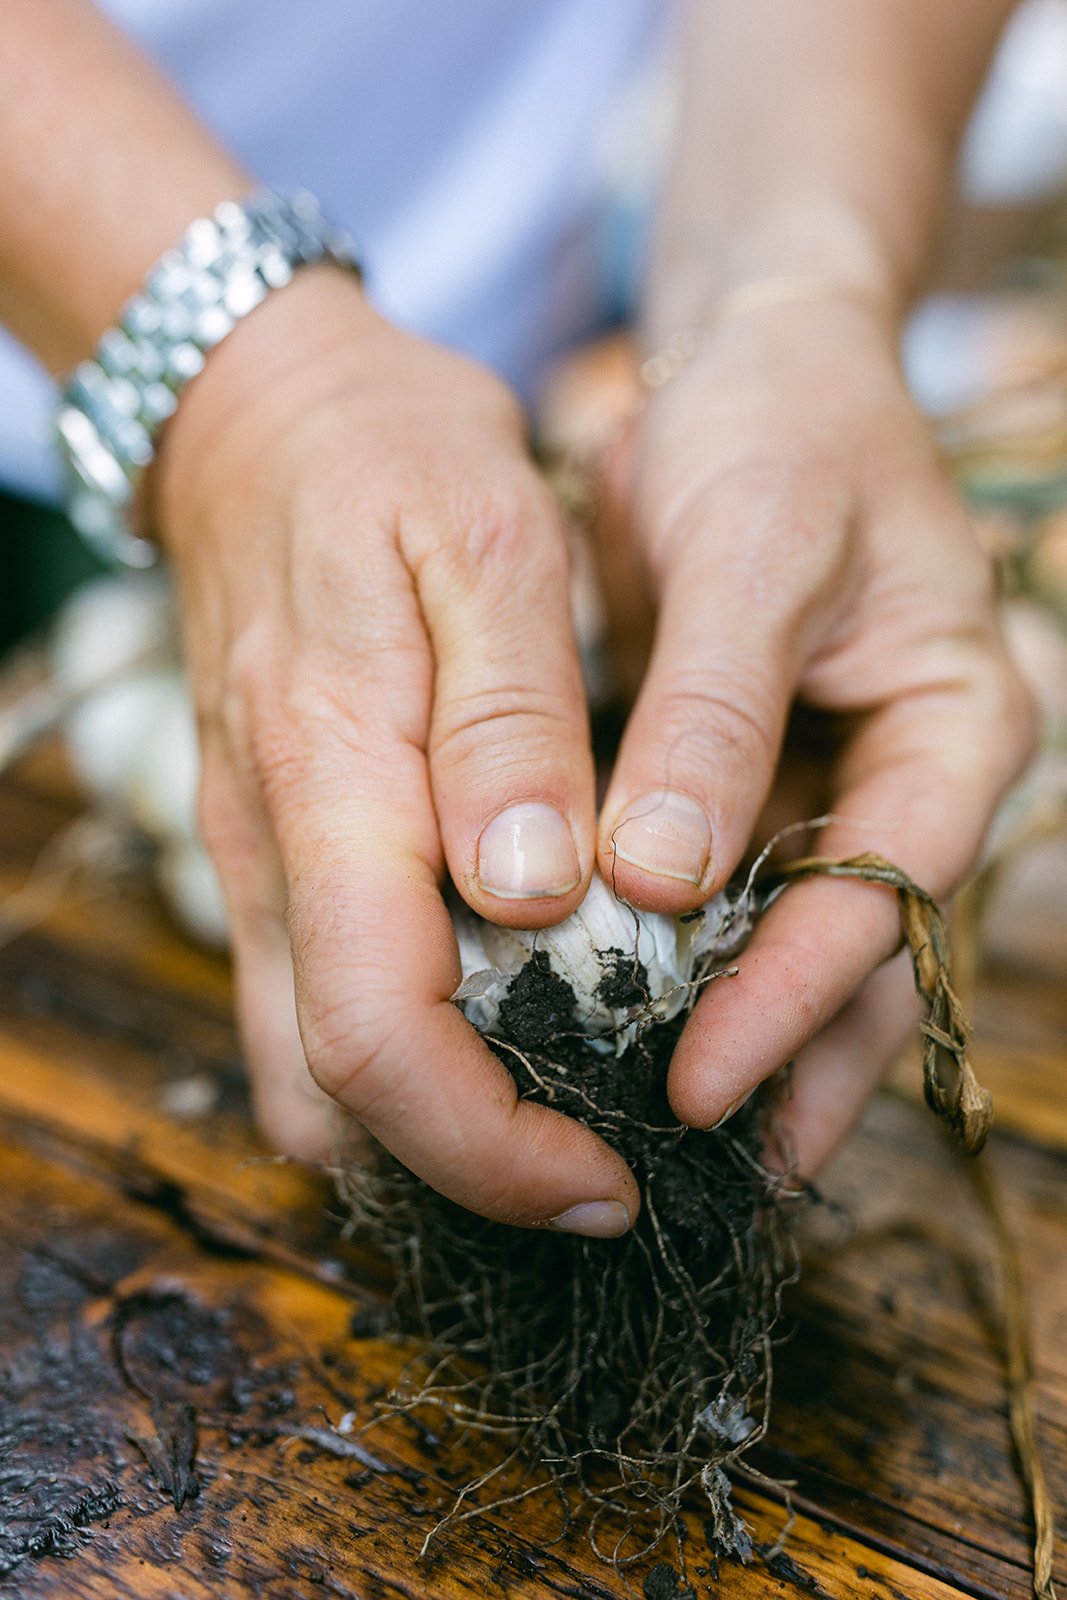
Separate the bulb into individual cloves.
Use only large, firm cloves.
Leave the papery skins intact.
Plant with the root end facing down.
Plant cloves about 2 inches deep. A hori-hori knife works perfectly for this task [LINK].
Space cloves 6 inches apart with 9 inches between rows.
Garlic grows best in rich, well-drained soil with plenty of organic matter.
Before planting, work compost or another nitrogen-rich amendment into the soil. If your soil contains heavy clay, improve it with compost rather than sand.
After planting, mulch with several inches of:
Shredded leaves
Compost
Leaf mulch
Grass clippings
Water thoroughly after planting.
Caring For Garlic Throughout the Growing Season
One of my favorite things about garlic is how little maintenance it requires.
In early spring:
Feed with a nitrogen-rich fertilizer or compost.
Water deeply when rainfall is lacking.
Keep moisture consistent around the roots, not the bulbs.
Garlic needs roughly 1” of water per week during active growth. There is no need to water while the ground is frozen.
About 2–3 weeks before harvest, stop watering entirely. This helps the bulbs cure and store better.
If you're growing hardneck garlic, don't forget to remove the scapes once they form one curl. This redirects the energy into forming bigger bulbs.
If you do have issues with pests, this is the insect repellent I use specifically for garlic. [LINK]
When to Harvest Garlic
Timing matters.
Harvest too early and bulbs remain small. Harvest too late and the protective wrappers begin breaking apart, shortening storage life.
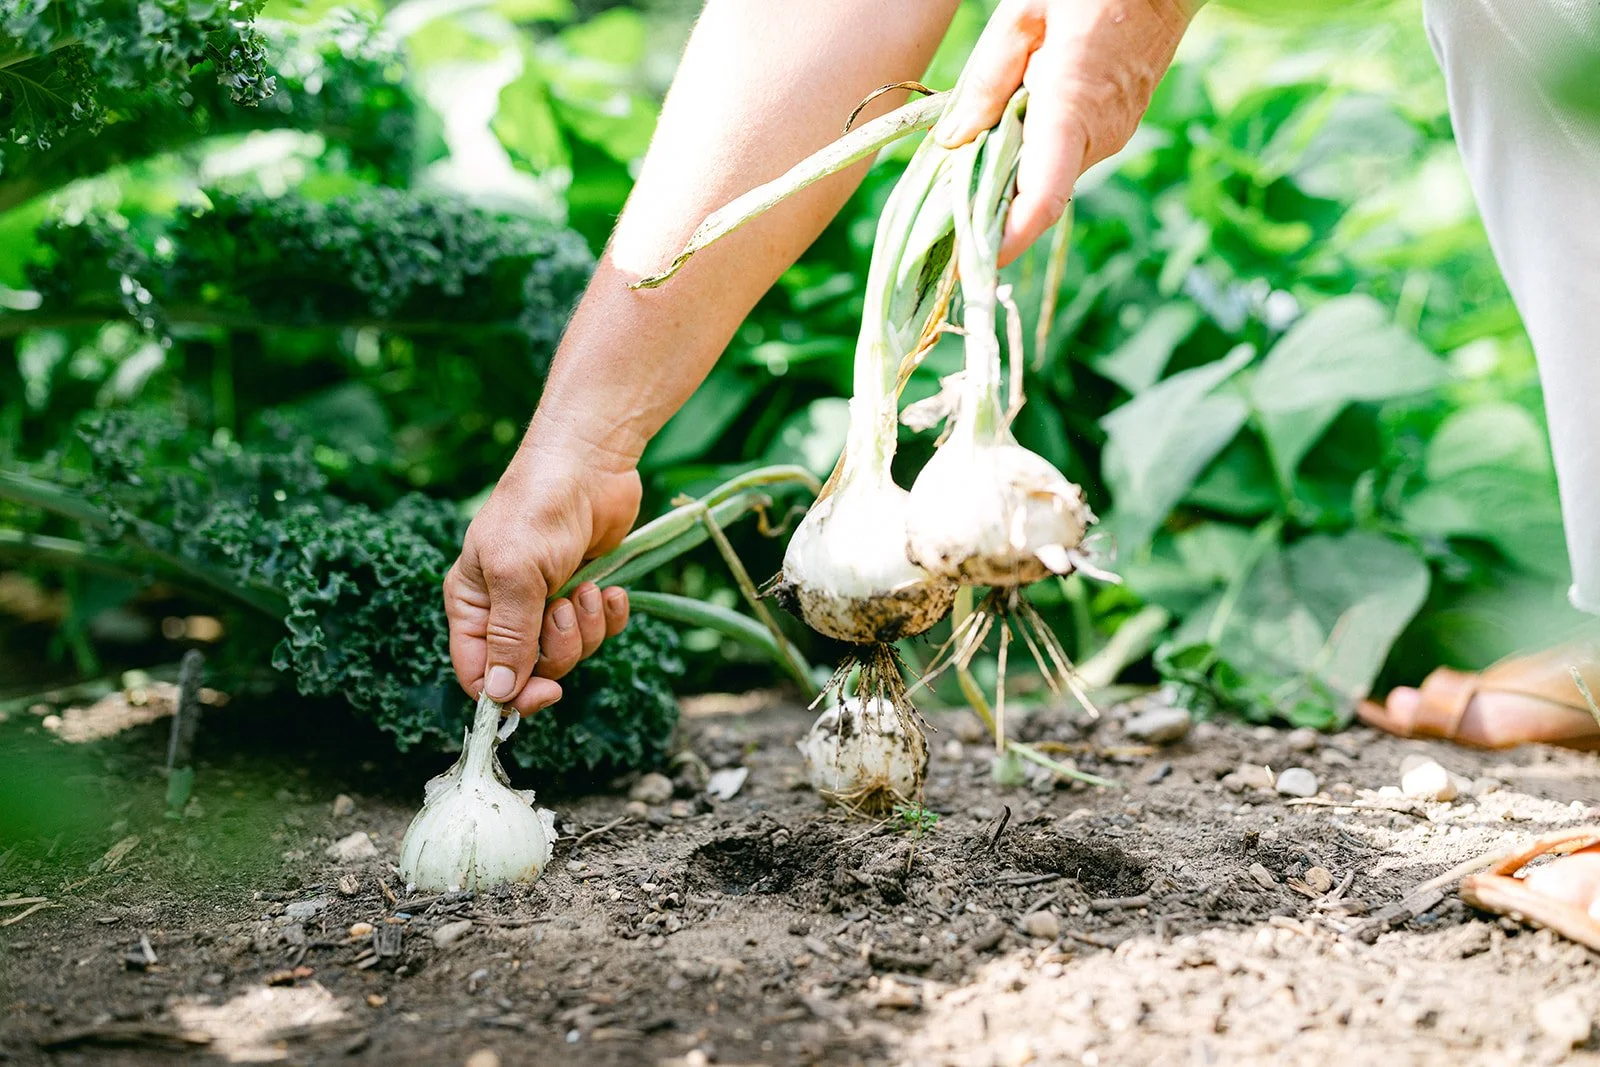
A good rule is to harvest when the lower two or three leaves turn yellow or brown. Typically, you want to see about 50% of the leaves brown. Each leaf represents a layer of skin on the bulb. If you let the garlic completely die out, it will not store well.
You can always peek at the garlic to see if the bulb is the desired size before harvest the entire crop.
Remember that if soil temps reach 90 degrees, the bulbs mature quicker, meaning smaller bulbs when there is rapid growth. Weather does impact the size if you notice a difference from year to year.
Loosen the soil with a tool before lifting bulbs to avoid damaging them or ripping the stem clean off (trust me).
How to Cure Garlic for Long-Term Storage
Don't wash freshly harvested garlic.
Instead:
Brush off excess dirt.
Leave stems and roots attached.
Cure in a shaded location with excellent airflow for 2–4 weeks.
You can hang bundles or lay bulbs in open crates or mesh trays.
Wait until the stems are about 90% dry before trimming them.
Store in netted or mesh onion bags, wire baskets, or any container with excellent airflow. For optimum storage, hang in an area with 45-60% relative humidity at 45 to 65 F. Avoid storing garlic in the refrigerator.
Save Your Biggest Bulbs for Next Year's Garden
One of the easiest ways to improve your garlic harvest every year is to save your largest, healthiest bulbs for replanting.
Store them in a cool, dry place until fall planting season returns. Over time, you'll build garlic that's increasingly adapted to your own garden.
Eating Garlic
Health Benefits of Garlic
Garlic is a staple in our diets here at Oglesby Gardens. We love the taste, but it’s also a good health boost. It’s been known to help:
Support a healthy immune system
Reduce high blood pressure
Provide anti-microbial properties
Deliver antioxidants
Supply Manganese, Vitamin B6, Vitamin C, Selenium
A Garden-to-Table Garlic Tip
Have you ever heard of the 10-minute garlic rule? Let me walk you through it.
Before cooking, smash or chop your garlic and let it rest for about 10 minutes. This allows a beneficial compound called allicin to fully develop.
By allowing the enzyme time to form, you’ll get more of that good garlic flavor, and more of those natural health benefits.

Shop my Kitchen Garden Tool Kit on Amazon. [LINK]
You Might Also Like…